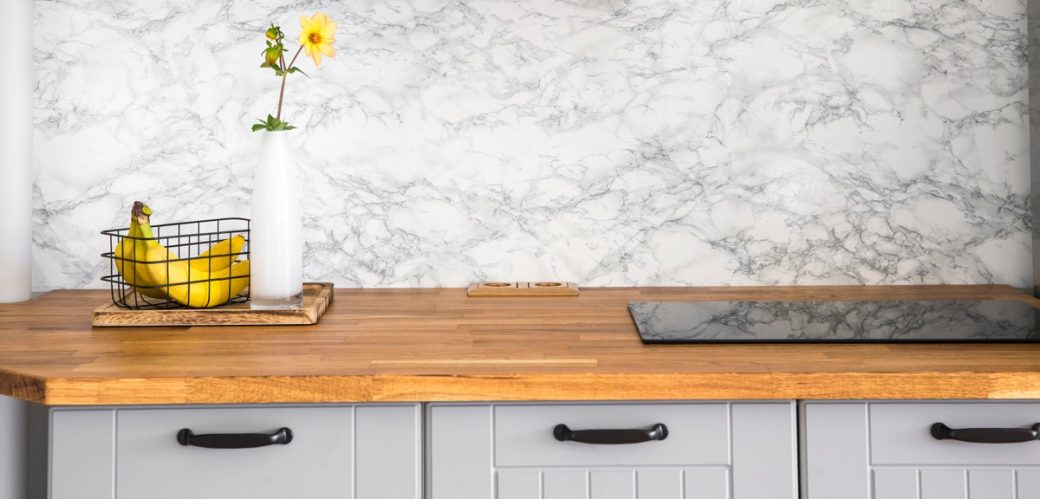
Adding handmade look tiles to your walls can infuse your space with unique character and warmth. Whether you’re renovating a bathroom, updating a kitchen backsplash, or revamping a feature wall, handmade look tiles offer an artisanal touch that can elevate the aesthetic of any room. Here’s a comprehensive guide to help you successfully install these charming tiles.
1. Choosing the Right Tile
Handmade look tiles come in various materials, colors, and patterns. Some popular options include:
- Ceramic and Porcelain: These are versatile and durable, mimicking the appearance of handcrafted tiles.
- Glass: Adds a glossy finish and reflects light, enhancing small spaces.
- Natural Stone: Provides an authentic, rustic feel with natural imperfections.
When selecting your tiles, consider the room’s function and the desired visual impact. Test a few samples to see how they look in different lighting conditions and against your existing decor.
2. Preparing the Wall Surface
A smooth, clean surface is crucial for proper tile adhesion. Here’s how to prepare:
- Remove Existing Coverings: Strip away old wallpaper, paint, or tiles.
- Clean the Surface: Wash the wall with mild detergent and water, removing any grease or grime.
- Repair Imperfections: Fill any holes or cracks with spackle or joint compound and sand smooth. For larger repairs, consider using a wall repair compound.
- Prime the Wall: Apply a primer suitable for your wall type, especially if the wall is porous or previously painted.
3. Gather Your Tools and Materials
Ensure you have everything you need before starting:
- Tile Cutter or Wet Saw
- Notched Trowel
- Tile Spacers
- Level
- Tile Adhesive (Thin-set Mortar)
- Grout
- Grout Float
- Sponge and Water Bucket
- Measuring Tape
4. Planning Your Layout
Planning helps prevent mistakes and ensures a professional finish:
- Measure and Mark: Determine the center of your wall and draw a vertical and horizontal reference line. This will help in maintaining symmetry and alignment.
- Dry Layout: Lay out tiles on the floor or a large surface to visualize the pattern and make adjustments before installing.
5. Applying Tile Adhesive
- Mix the Adhesive: Follow the manufacturer’s instructions to achieve the correct consistency.
- Apply Adhesive: Using a notched trowel, spread the adhesive on a small section of the wall. The notches create grooves that help the tiles adhere better.
- Place the Tiles: Press each tile firmly into the adhesive, twisting slightly to ensure a good bond. Use tile spacers to maintain consistent gaps between tiles.
6. Cutting Tiles
- Measure and Cut: Use a tile cutter or wet saw for precise cuts, especially for edge and corner tiles.
- Fit and Adjust: Place cut tiles as needed, ensuring they fit snugly and align with the surrounding tiles.
7. Grouting the Tiles
- Allow Adhesive to Set: Wait 24 hours or as per the adhesive’s instructions before grouting.
- Apply Grout: Spread grout over the tiles using a grout float, pressing it into the gaps.
- Clean Excess Grout: Wipe off excess grout with a damp sponge before it dries, being careful not to pull grout out of the joints.
- Cure the Grout: Let the grout set for the time recommended by the manufacturer, usually 24-48 hours, before using the area.
8. Finishing Touches
- Seal the Grout: Depending on the type of grout used, you might need to apply a grout sealer to protect it from moisture and stains.
- Clean the Surface: After the grout has fully cured, clean the tile surface with a mild cleaner to remove any haze or residue.
9. Maintenance Tips
- Regular Cleaning: Use a pH-balanced cleaner to maintain the tiles’ appearance.
- Avoid Harsh Chemicals: Steer clear of abrasive cleaners and acids that can damage the tile surface or grout.
- Inspect Regularly: Check for any signs of damage or wear and address them promptly to keep your installation looking fresh.
Conclusion
installing handmade look tile on walls can dramatically transform a space, adding texture, color, and charm. By carefully planning, preparing, and executing your installation, you can achieve a beautiful and lasting result. Enjoy the unique character and artisanal touch that these tiles bring to your home!

